

Got a pile of old wooden boxes, glass bottles, or tin cans cluttering your garage? Throwing them out feels wasteful, but they’re just taking up space. As an eco-conscious DIY enthusiast, you can breathe new life into these forgotten items by turning them into one-of-a-kind solar lamps. By combining repurposed materials with solar lighting, you’ll create eco-friendly, personalized backyard illumination that tells a story. This guide will walk you through transforming old wooden boxes into sturdy path light bases, glass bottles into charming string light shades, and even tin cans into quirky lanterns—all with basic household tools. Perfect for North American homes, these projects are beginner-friendly, environmentally conscious, and packed with character.
Why Repurpose Old Items for Solar Lighting?
Tossing out old items contributes to landfill waste, but repurposing them into solar lamps is a win-win. You reduce clutter, save money, and craft unique lighting that reflects your style. Solar-powered lamps are energy-efficient, wire-free, and easy to integrate into any backyard. Whether you’re lighting a garden path or decorating a porch, these DIY projects add a personal touch while keeping sustainability first. With a few simple steps, you’ll turn trash into treasure, creating an environmental DIY lighting solution that’s both functional and full of charm.
Gathering Your Materials
Before diving in, collect the right materials. Most of these are likely already in your home or easily sourced:
- Old Items: Wooden boxes (e.g., cigar boxes, small crates), glass bottles (e.g., wine or mason jars), or tin cans (e.g., coffee or soup cans). Ensure they’re sturdy and free of cracks.
- Solar Lamp Components: Purchase solar lamp kits (available on Amazon or at hardware stores like Home Depot) with LED bulbs, solar panels, and battery packs. Look for kits labeled “DIY solar lights” or “solar stake lights” (around $10-$20 for a set).
- Tools: Drill with 1/4-inch bit, utility knife, sandpaper (120-grit), wire cutters, screwdriver, and hot glue gun.
- Finishing Supplies: Waterproof clear varnish (spray or brush-on), acrylic paint (optional for decoration), and adhesive weatherproof tape.
- Safety Gear: Gloves, safety glasses, and a dust mask for sanding or cutting.
Check that your solar components include small LED bulbs (1-2 inches) to fit inside bottles or cans and stakes for ground mounting with wooden boxes. Brands like Maggift or Solpex offer affordable, reliable solar kits perfect for these projects.
Project 1: Wooden Box Solar Path Light Base
Old wooden boxes make excellent bases for solar path lights, adding rustic charm to your garden. Here’s how to transform one into a sturdy, eco-friendly DIY lighting solution:
- Clean and Prep the Box:
- Wipe the box with a damp cloth to remove dust or grime. Let it dry completely.
- Sand rough edges with 120-grit sandpaper for a smooth finish. Wear a dust mask to avoid inhaling particles.
- Drill Holes for Wiring:
- Mark a spot on the box’s top for the solar lamp’s LED bulb (usually 1/4-inch wide).
- Drill a hole using a 1/4-inch bit. Test-fit the bulb to ensure it sits snugly.
- Drill a second hole on the side or bottom for the wire connecting the bulb to the solar panel.
- Apply Waterproof Varnish:
- Spray or brush on waterproof clear varnish to protect the wood from rain and UV rays. Apply two coats, letting each dry for 4-6 hours.
- Optionally, paint the box with acrylic paint for a pop of color before varnishing.
- Install the Solar Components:
- Thread the LED bulb’s wire through the top hole and connect it to the solar panel (follow the kit’s instructions).
- Secure the bulb inside the box with hot glue or adhesive tape, ensuring it faces upward to cast light.
- Attach the solar panel to the box’s exterior (e.g., on top or a nearby stake) using screws or glue, positioning it to catch sunlight.
- Place in Your Backyard:
- Set the box in a flowerbed or along a path, ensuring the solar panel gets 6-8 hours of sunlight daily.
- Use a stake (included in most kits) to anchor the box if needed.
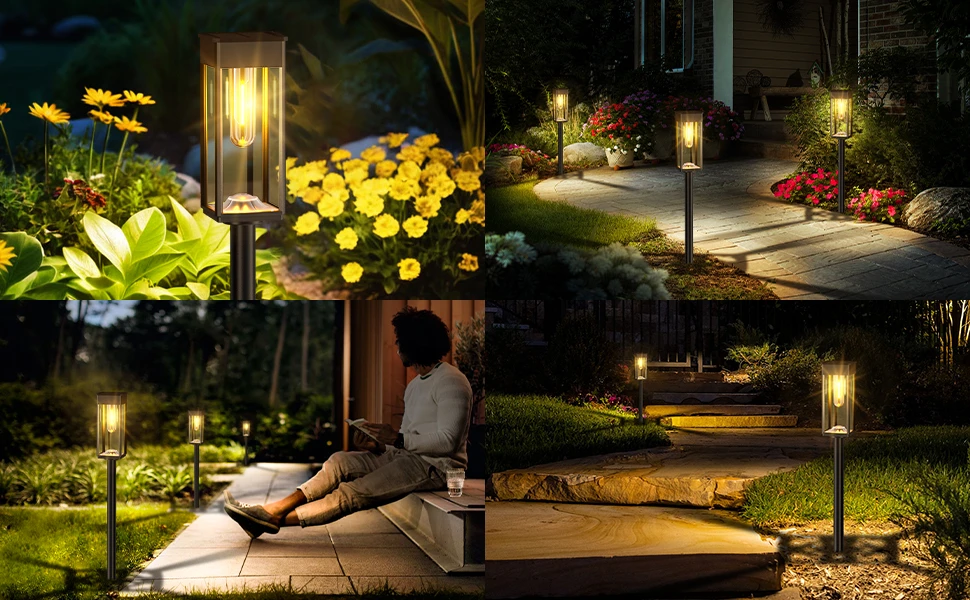
This wooden box lamp is perfect for lining garden paths or accenting flowerbeds, giving your yard a warm, handcrafted glow.
Project 2: Glass Bottle Solar String Light Shades
Glass bottles, like wine or mason jars, make stunning shades for solar string lights, ideal for hanging on porches or trees. Here’s how to craft them:
- Clean and Prep the Bottles:
- Remove labels by soaking bottles in warm, soapy water for 10 minutes, then scrubbing with a sponge.
- Dry thoroughly and inspect for cracks to ensure safety.
- Cut an Opening for the Lamp:
- Mark a 1-inch circle at the bottle’s base or side with a marker.
- Use a glass-cutting tool or utility knife to carefully score the mark. Wear gloves and safety glasses.
- Gently tap the scored area with a hammer to remove the section, creating an opening for the solar LED bulb. Sand edges with sandpaper for safety.
- Apply Waterproofing:
- Spray the bottle’s exterior with waterproof clear varnish to protect against rain. Apply two coats, drying for 4-6 hours between coats.
- Optionally, add decorative touches like twine or acrylic paint before varnishing.
- Insert Solar String Lights:
- Thread a small solar LED bulb (from a string light kit) through the bottle’s opening. Secure with hot glue or adhesive tape.
- Ensure the wire connects to the solar panel, which can be mounted nearby (e.g., on a fence or tree).
- Hang in Your Backyard:
- Use twine or wire to hang bottles from a porch, pergola, or tree branches.
- Position the solar panel in a sunny spot to charge during the day.
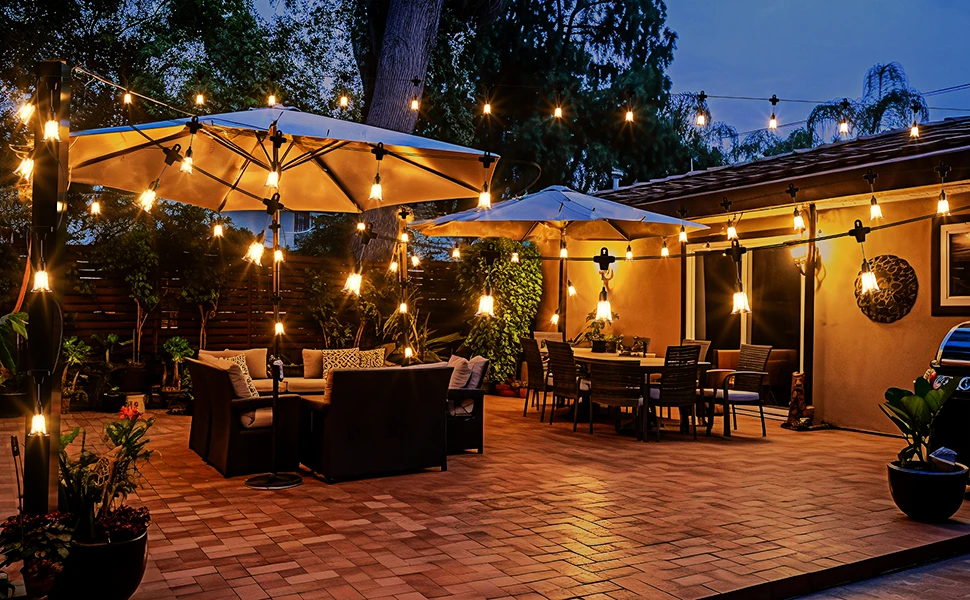
These glass bottle shades create a whimsical, glowing effect when hung in clusters, perfect for a cozy porch or festive backyard gathering.
Project 3: Tin Can Solar Lantern
Tin cans can become quirky solar lanterns for tabletops or hanging displays. Here’s how to make one:
- Clean and Prep the Can:
- Remove the label and wash the can with soap and water. Dry thoroughly.
- Sand any sharp edges around the rim with sandpaper for safety.
- Create Light Patterns:
- Use a hammer and nail to punch small holes in the can’s sides, creating patterns like stars or swirls. This lets light shine through.
- Alternatively, cut larger openings with a utility knife for a bolder effect.
- Waterproof and Decorate:
- Spray the can with waterproof clear varnish (two coats, drying 4-6 hours between). This prevents rust.
- Optionally, paint with acrylic colors for a personalized touch before varnishing.
- Add Solar Components:
- Place a small solar LED bulb inside the can, securing it with hot glue or tape.
- Connect the bulb’s wire to the solar panel, mounted outside the can or nearby.
- Display in Your Backyard:
- Set the lantern on a patio table or hang it with wire from a tree or hook.
- Ensure the solar panel gets ample sunlight for charging.
Tin can lanterns add a playful, industrial vibe, perfect for eclectic backyards or cozy corners.
Tips for Success and Safety
To ensure your old-item solar lamps shine brightly and last, keep these in mind:
- Test Solar Components: Before assembling, charge the solar panel in sunlight for a day and test the LED to confirm it works.
- Check Stability: Ensure bases (especially wooden boxes) are secure on the ground to avoid tipping in wind.
- Avoid Overheating: Place LEDs away from flammable materials inside boxes or cans to prevent heat buildup.
- Clean Regularly: Wipe solar panels monthly to remove dust and maximize charging efficiency.
- Safety First: Always wear gloves and glasses when cutting glass or metal to avoid injury.
Where to Use Your DIY Solar Lamps
Each project suits different backyard settings:
- Wooden Box Path Lights: Place in flowerbeds or along walkways for rustic, grounded illumination.
- Glass Bottle String Lights: Hang on porches, pergolas, or trees for a magical, glowing canopy.
- Tin Can Lanterns: Set on tables or hang in seating areas for quirky, intimate lighting.
Mix and match these lamps to create a cohesive yet varied backyard aesthetic, blending environmental DIY lighting with personal flair.
Conclusion: Light Up Your Backyard with a Story
Turning old wooden boxes, glass bottles, and tin cans into solar lamps isn’t just about clearing clutter—it’s about crafting a backyard that’s uniquely yours. These old-item solar lamps combine sustainability with creativity, giving your space a warm, personal glow that store-bought lights can’t match. As an eco-DIY enthusiast, you’ll love the thrill of transforming forgotten items into functional art with simple tools and a bit of imagination. Your backyard will not only shine brighter but also tell a story of resourcefulness and care for the planet. So dig out those old items, grab a solar kit, and start crafting your exclusive lamp designs today.
Quick Checklist for DIY Solar Lamps
- Gather old wooden boxes, glass bottles, or tin cans, plus a solar lamp kit.
- Clean and sand items, then apply waterproof clear varnish.
- Drill or cut openings for LED bulbs and wiring.
- Secure solar components with glue or tape, ensuring panels get sunlight.
- Place or hang lamps in your backyard for a unique, eco-friendly glow.
Leave a Reply