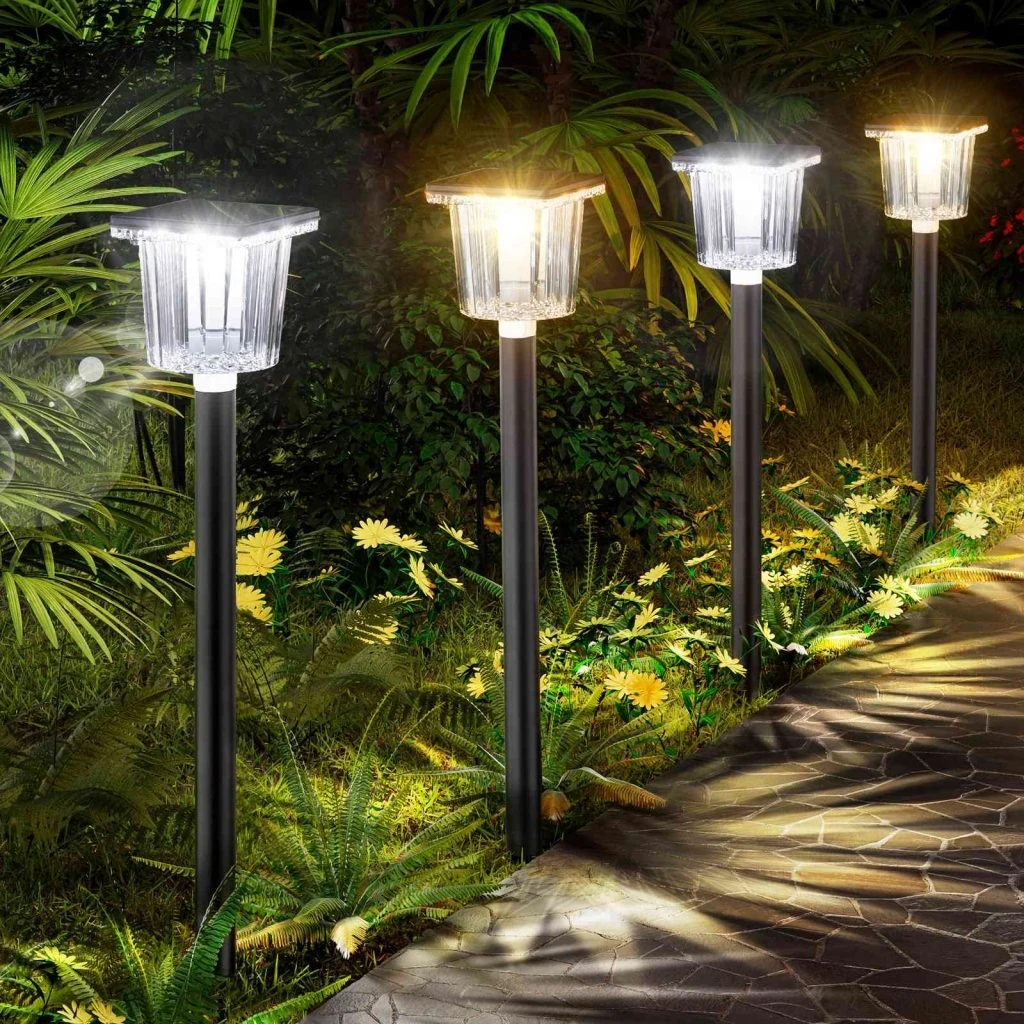
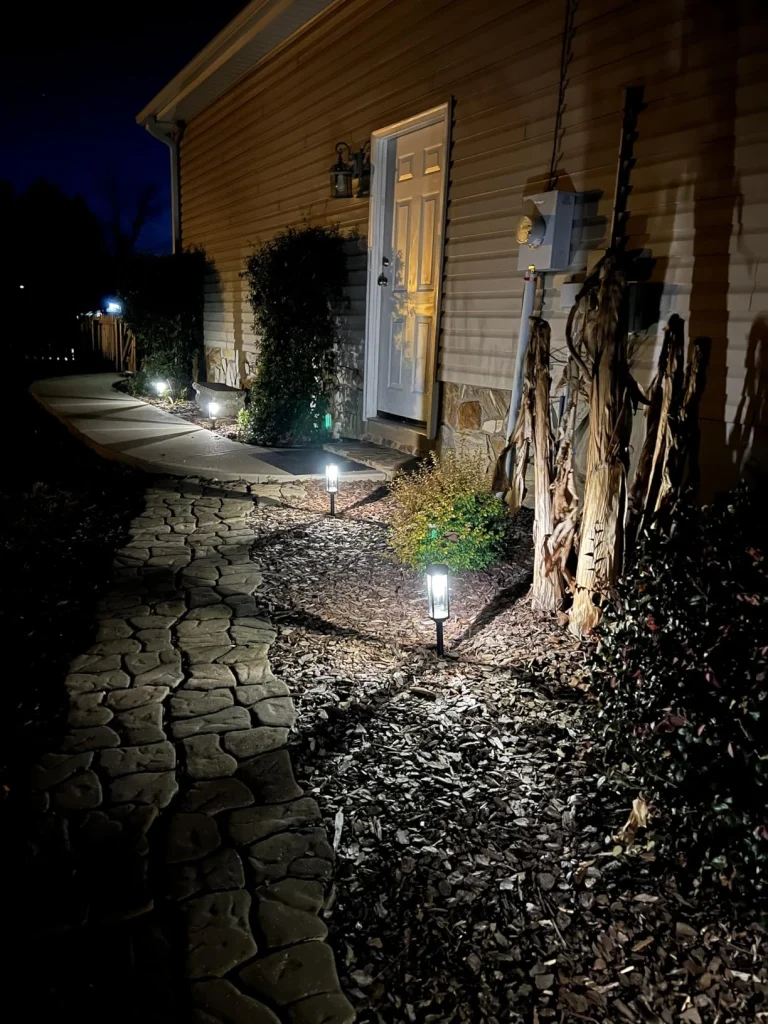
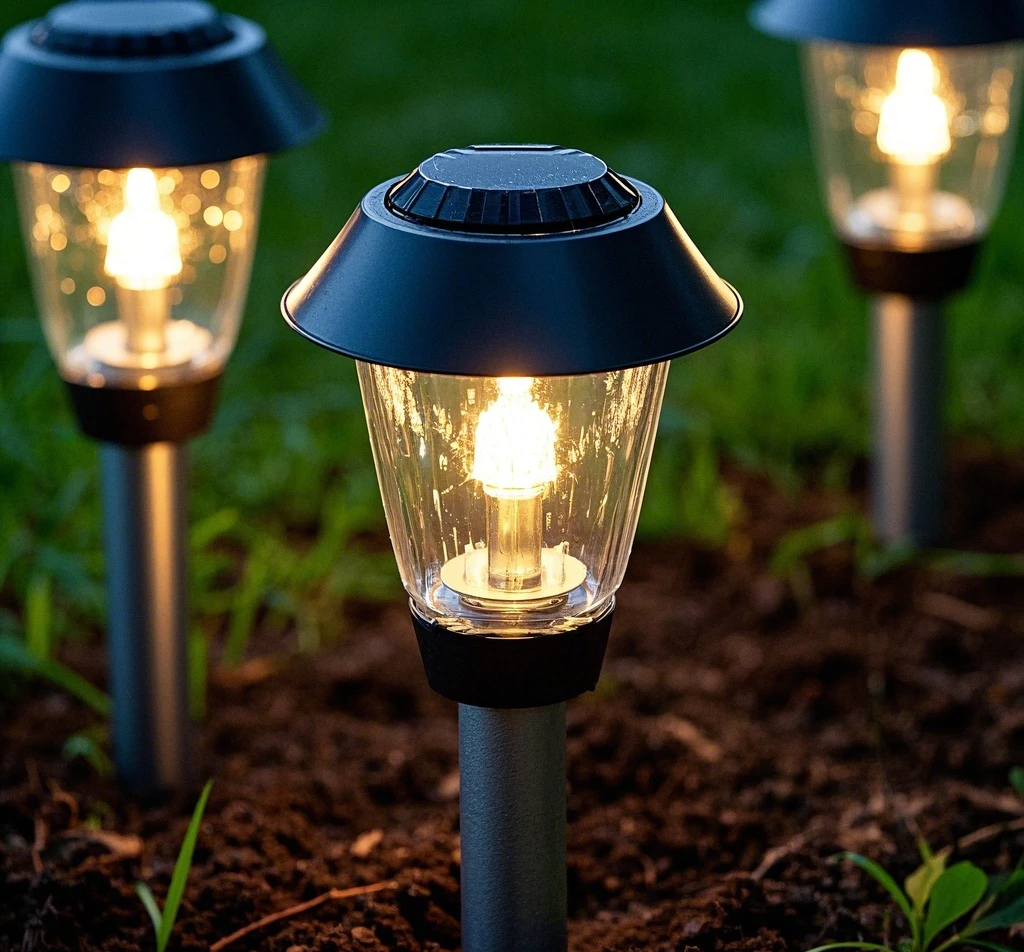
The American DIY culture thrives on creativity, resourcefulness, and the satisfaction of transforming everyday items into functional, beautiful home additions. For crafty homeowners, solar-powered lighting offers an eco-friendly, cost-effective way to illuminate outdoor spaces while indulging in hands-on projects. This guide is tailored for DIY enthusiasts in the U.S., providing step-by-step tutorials to create stunning solar lighting solutions using repurposed materials and accessible tools. From upcycled wine bottle pendant lights to solar-lit wooden pallet shelves and 3D-printed custom lamp shades, these projects blend sustainability with personal style. We’ve also included a U.S. DIY materials shopping list to source supplies from trusted retailers like Home Depot and Lowe’s.

With a focus on affordability and customization, these projects cater to homeowners who love crafting unique outdoor lighting while minimizing environmental impact. Let’s dive into three exciting tutorials that will brighten your home and spark your creativity.
Why DIY Solar Lighting?
Solar-powered lighting is a perfect fit for DIY enthusiasts. It eliminates the need for complex wiring, reduces energy costs, and aligns with the growing trend of sustainable living in the U.S. By repurposing materials like old wine bottles or wooden pallets, you can create one-of-a-kind lighting solutions that reflect your personality. These projects are budget-friendly, require minimal tools, and allow you to customize designs to match your home’s aesthetic. Plus, solar-powered lighting is low-maintenance, making it ideal for busy homeowners who want long-lasting results.
Upcycled Wine Bottle Pendant Lights
Crafting Retro Charm with Solar Light Cores
Transforming old wine bottles into upcycled wine bottle pendant lights is a fantastic way to add a retro vibe to your patio or garden. This project combines creativity with sustainability, using solar light cores to power the lights without electricity costs.
Materials Needed
- Empty wine bottles (cleaned and labels removed)
- Solar light cores (available at Home Depot or Lowe’s)
- Glass cutting tool (e.g., bottle cutter kit)
- Waterproof sealant (silicone-based)
- Sandpaper (medium grit)
- Hanging wire or chain
- Safety gloves and goggles
Step-by-Step Tutorial
- Prepare the Bottle: Wear safety gloves and goggles. Use a glass cutting tool to score the bottle near the bottom (about 1-2 inches from the base). Apply gentle pressure to separate the bottom, creating an open-ended pendant.
- Smooth Edges: Sand the cut edge with medium-grit sandpaper to remove sharpness. Rinse the bottle to clear debris.
- Insert Solar Core: Fit a solar light core into the bottle’s neck. Ensure the solar panel sits flush with the opening for optimal sunlight exposure.
- Seal for Weatherproofing: Apply waterproof silicone sealant around the solar core to prevent water ingress. Let it cure for 24 hours.
- Hang the Light: Attach a hanging wire or chain to the bottle’s neck and suspend it from a tree, pergola, or patio hook.
Tips for Success
- Choose colored glass bottles for a vibrant glow.
- Test the solar light core before sealing to ensure it functions.
- Hang lights in areas with at least 6 hours of direct sunlight daily.
These upcycled wine bottle pendant lights add a charming, vintage touch to your outdoor space, perfect for evening gatherings or quiet nights under the stars.
Solar-Lit Wooden Pallet Shelves
Building Functional Outdoor Storage
Repurposing wooden pallets into solar-lit wooden pallet shelves combines practicality with aesthetic appeal. These shelves provide outdoor storage for plants, tools, or decor while incorporating solar-powered lighting for nighttime visibility.
Materials Needed
- Wooden pallet (sourced locally or from hardware stores)
- Solar-powered lighting (stake lights or LED strips)
- Sandpaper (coarse and fine grit)
- Waterproof wood sealant or outdoor paint
- Screws and drill
- Measuring tape and level
- L-brackets for mounting
Step-by-Step Tutorial
- Prepare the Pallet: Sand the pallet with coarse-grit sandpaper to remove splinters, then finish with fine-grit for smoothness.
- Apply Waterproofing: Coat the pallet with waterproof wood sealant or outdoor paint. Allow it to dry for 24-48 hours to ensure weather resistance.
- Add Solar Lighting: Attach solar-powered lighting to the pallet. For example, secure solar stake lights to the top edge or weave solar LED strips along the shelves.
- Mount the Shelf: Use L-brackets to mount the pallet to a wall, fence, or posts. Ensure it’s level and secure for outdoor stability.
- Decorate: Place potted plants, lanterns, or outdoor decor on the shelves, ensuring the solar panels remain unobstructed.
Tips for Success
- Choose pallets marked “HT” (heat-treated) for safety and durability.
- Position solar panels to capture maximum sunlight.
- Regularly check the sealant for wear, reapplying annually for longevity.
These solar-lit wooden pallet shelves offer a rustic, functional addition to your backyard, perfect for showcasing your DIY skills.

3D-Printed Custom Lamp Shades
Personalizing Solar Lighting with Technology
For tech-savvy DIYers, creating 3D-printed custom lamp shades for solar light bases is an exciting way to add a personal touch. These shades can feature family logos, floral patterns, or geometric designs, tailored to your home’s style.
Materials Needed
- 3D printer (e.g., Ender 3 or Prusa)
- PLA or PETG filament (weather-resistant)
- Solar light bases (available at hardware stores)
- Design software (e.g., Tinkercad or Fusion 360)
- Sandpaper or finishing tools
- UV-resistant clear coat
Step-by-Step Tutorial
- Design the Shade: Use Tinkercad or Fusion 360 to create a lamp shade design. Incorporate patterns like your family logo or floral motifs. Ensure the base fits your solar light bases.
- Print the Shade: Load weather-resistant filament into your 3D printer and print the design. Adjust settings for durability (e.g., thicker walls).
- Finish the Shade: Sand any rough edges and apply a UV-resistant clear coat to protect against sun exposure.
- Attach to Solar Base: Secure the shade to the solar light base, ensuring the solar panel remains exposed for charging.
- Place Outdoors: Position the light in a garden, pathway, or patio area with ample sunlight.
Tips for Success
- Test the shade’s fit before applying the clear coat.
- Use open lattice designs to allow light diffusion while maintaining strength.
- Store 3D-printed shades indoors during extreme weather to extend lifespan.
These 3D-printed custom lamp shades let you showcase your creativity, making your solar lighting truly one-of-a-kind.
U.S. DIY Materials Shopping List
Sourcing the right materials is key to successful DIY projects. Below is a curated U.S. DIY materials shopping list with recommendations from Home Depot and Lowe’s, ensuring accessibility for American homeowners.
For Upcycled Wine Bottle Pendant Lights
- Solar light cores: Home Depot – Hampton Bay Solar LED Pathway Lights ($19.97 for 6-pack)
- Glass cutting tool: Lowe’s – Diamond Glass Cutter ($12.98)
- Waterproof sealant: Home Depot – GE Silicone II Clear Sealant ($7.98)
- Hanging wire: Lowe’s – Hillman Steel Wire ($4.98)
For Solar-Lit Wooden Pallet Shelves
- Wooden pallet: Check local warehouses or Home Depot (free or ~$10)
- Solar-powered lighting: Lowe’s – Portfolio Solar LED Stake Lights ($24.98 for 4-pack)
- Waterproof sealant: Home Depot – Thompson’s WaterSeal Clear ($16.98)
- L-brackets: Lowe’s – Everbilt Steel L-Brackets ($5.98 for 4)
For 3D-Printed Custom Lamp Shades
- PLA/PETG filament: Home Depot – Hatchbox PLA Filament ($24.99 per kg)
- Solar light bases: Lowe’s – Utilitech Solar Path Lights ($14.98 for 2-pack)
- UV-resistant clear coat: Home Depot – Rust-Oleum Clear UV Spray ($9.98)
Where to Shop
- Home Depot: Offers a wide range of solar lighting and tools, with in-store pickup and online ordering.
- Lowe’s: Provides affordable solar light cores and sealants, with frequent DIY discounts.
- Local craft stores or online platforms like Amazon for 3D printing supplies.
Benefits of DIY Solar Lighting
Cost Savings
By repurposing materials like wine bottles or pallets, you reduce project costs significantly. Solar-powered lighting eliminates electricity bills, making these projects budget-friendly for American homeowners.
Customization
These projects allow you to tailor designs to your home’s aesthetic, from retro pendant lights to modern 3D-printed shades. Add personal touches like family logos or unique patterns to make your lighting stand out.
Sustainability
Using solar-powered lighting and upcycled materials reduces waste and energy consumption, aligning with eco-conscious DIY trends in the U.S.
Practical Tips for DIY Success
- Safety First: Wear protective gear when cutting glass or sanding wood to avoid injury.
- Sunlight Optimization: Place solar panels in areas with 6-8 hours of direct sunlight for maximum efficiency.
- Maintenance: Clean solar panels monthly and check sealants or coatings for wear, especially in harsh weather.
- Experiment: Don’t be afraid to tweak designs—DIY is about creativity and learning.
Conclusion
DIY solar lighting projects empower crafty homeowners to transform their outdoor spaces with creativity and sustainability. By crafting upcycled wine bottle pendant lights, solar-lit wooden pallet shelves, and 3D-printed custom lamp shades, you can illuminate your home while showcasing your unique style. The U.S. DIY materials shopping list makes sourcing supplies easy, with trusted retailers like Home Depot and Lowe’s offering everything you need.
Embrace the American DIY spirit and start your solar lighting project today. With these tutorials, you’ll create beautiful, eco-friendly lighting solutions that enhance your home and reflect your passion for crafting.


Leave a Reply