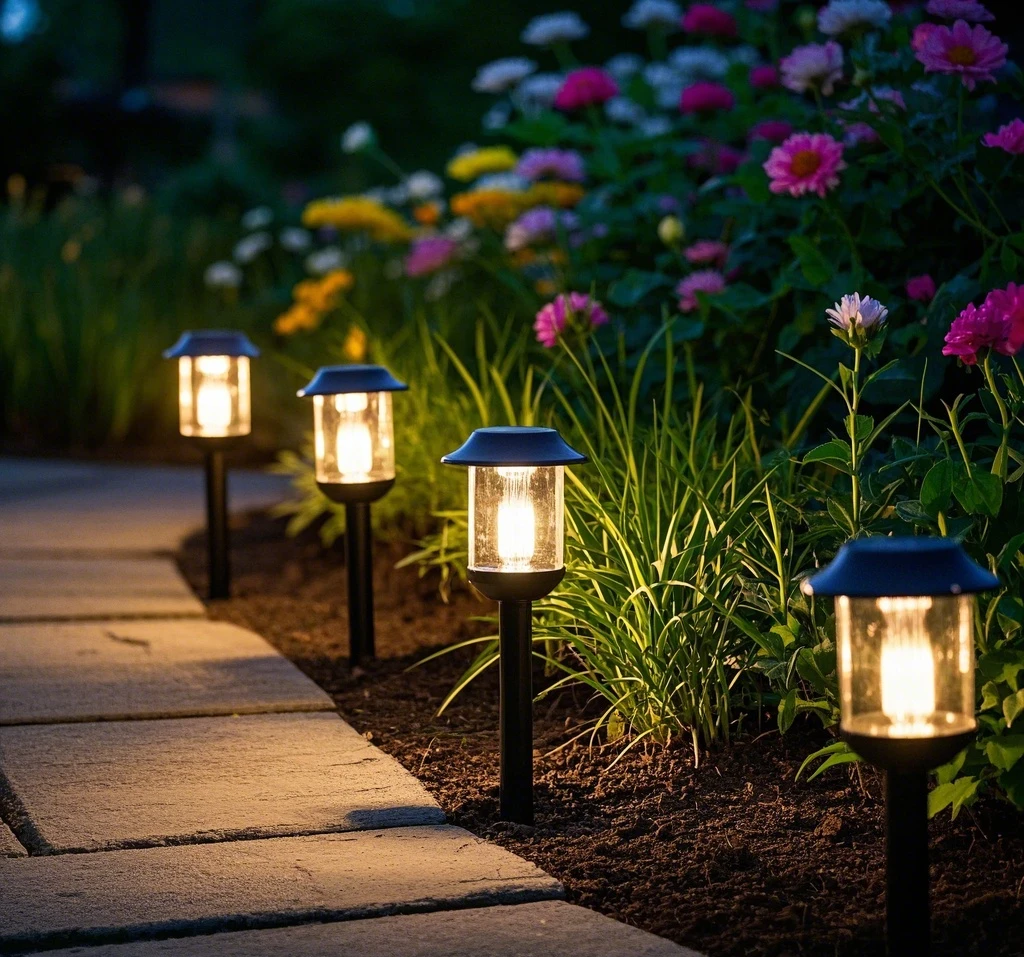
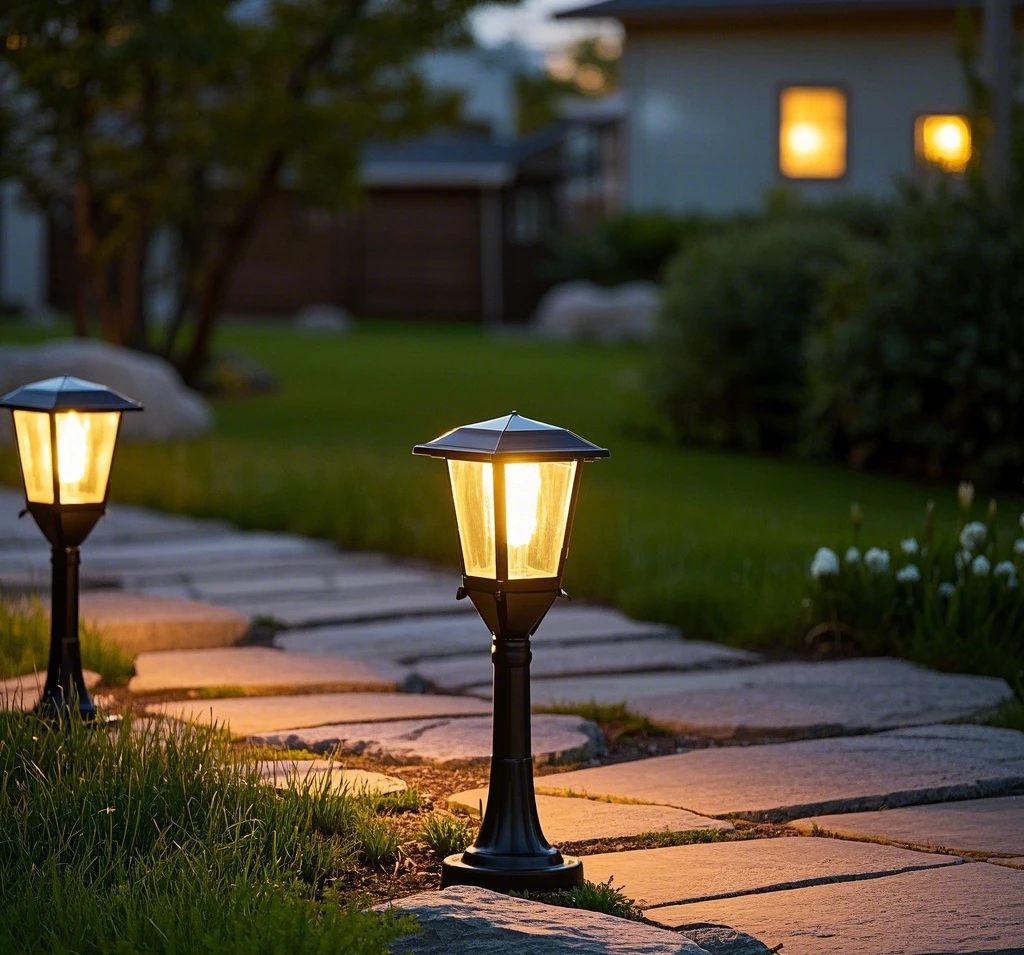
Solar-powered lights are a sustainable and cost-effective solution for illuminating outdoor spaces like gardens, pathways, and patios. Many modern solar outdoor lights come equipped with an on/off switch, offering users greater control over their operation. However, understanding how to charge solar lights with on/off switch can be confusing, especially for new users. This article provides a comprehensive guide to effectively charging solar garden lights with an on/off switch, troubleshooting common issues, and maximizing performance. Drawing from practical insights and extensive research, we’ll explore step-by-step methods to ensure your solar lights charging process is seamless and efficient.

Understanding the Role of the On/Off Switch
The on/off switch on solar-powered outdoor lights allows users to manually control whether the light operates or remains off, even when charged. This feature is particularly useful for conserving battery life during storage, preventing unwanted illumination, or ensuring optimal charging. For solar lights with on/off switch, the switch typically controls the connection between the battery and the LED, but it can also affect the charging process if not properly set. Misunderstanding this feature is a common reason why users struggle to charge solar lights effectively.
Step-by-Step Guide to Charging Solar Lights with On/Off Switch
1. Verify the Switch Position
The first step to charge solar lights with on/off switch is ensuring the switch is in the correct position. Many solar pathway lights or solar string lights ship with the switch in the “off” position to prevent battery drain during transport. If the switch is off, the light may not charge or illuminate, even in sunlight.
How to Do It: Locate the on/off switch, typically found near the battery compartment, solar panel, or on the light’s body. Flip it to the “on” position. Place the light in direct sunlight for 6-8 hours to charge the NiMH batteries for solar lights. Test the light at night to confirm it’s working.
Tip: Check the user manual, as some models require the switch to be on for both charging and operation, while others charge regardless of the switch position.
2. Optimize Sunlight Exposure
Proper placement is critical for solar lights charging. The solar panel must receive direct sunlight to convert into energy for the battery. Even with the switch on, solar outdoor lights in shaded areas or under obstructions like trees or awnings may not charge effectively.
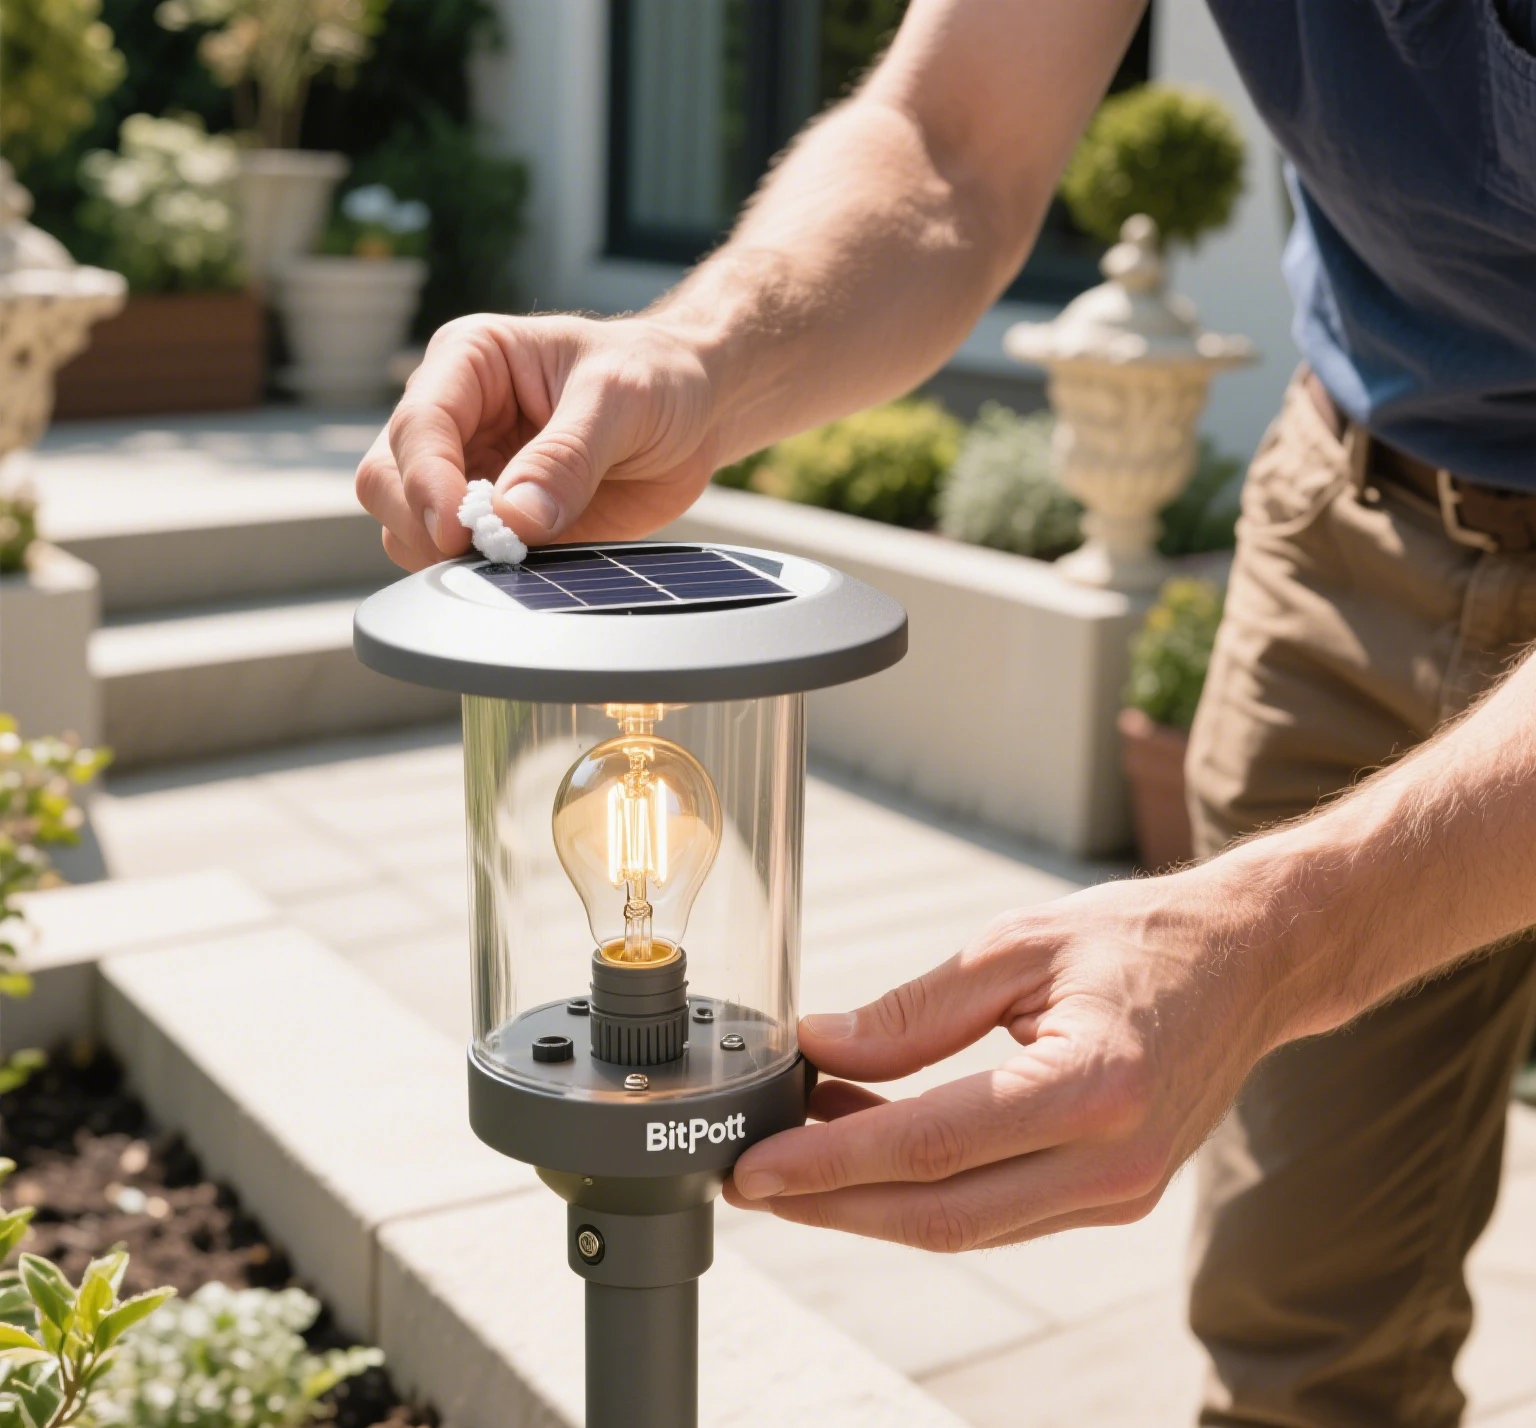
How to Do It: Position the solar garden lights in an area with unobstructed sunlight for at least 6-8 hours daily. For models with detachable panels, such as certain solar security lights, place the panel in a sunny spot while keeping the light in the desired location. Clean the panel with a soft, damp cloth to remove dust or debris that could block sunlight.
Tip: Adjust the panel’s angle seasonally to align with the sun’s path, especially for fixed solar pathway lights.
3. Check Battery Installation and Condition
The NiMH batteries for solar lights are essential for storing energy. If the batteries are improperly installed or depleted, the light won’t charge, even with the switch on. Some solar lights with on/off switch include a pull-tab that must be removed to activate the battery.
How to Do It: Open the battery compartment and ensure the NiMH batteries for solar lights are correctly inserted, matching the polarity (+/-) markings. Remove any pull-tabs or plastic strips. If the batteries are old or were drained during storage, replace them with new, high-quality NiMH batteries (e.g., 1,000-2,000mAh). Charge the light in direct sunlight for a full day after installation.
Caution: Use only batteries recommended by the manufacturer to avoid damaging the solar-powered outdoor lights.
4. Test Charging with Artificial Light (If Necessary)
In low-sunlight conditions, such as cloudy days or indoor settings, you can charge solar lights indoors using artificial light sources like incandescent bulbs or LED grow lights. The on/off switch should be in the “on” position for the solar panel to absorb energy.
How to Do It: Place the solar panel 6-12 inches under a bright light source (60-100 watts for incandescent or high-lumen LEDs with a 5000-6500K color temperature). Charge for 8-12 hours. This method is less efficient than sunlight but can work for solar string lights or smaller solar garden lights.
Tip: Verify the light’s specifications, as not all solar lights with on/off switch charge effectively with artificial light.
5. Use USB Charging (If Available)
Some modern solar outdoor lights, such as those from brands like Bitpott, include a USB charging port for added versatility. This feature allows you to charge solar lights without sun if sunlight is unavailable, regardless of the on/off switch position.
How to Do It: Locate the USB port (often under a protective cover) and connect it to a power bank, laptop, or wall adapter using a compatible USB cable. Charge for 4-6 hours, checking the manual for specific times. Ensure the switch is on if the light needs to operate immediately after charging.
Caution: Only use USB charging for models designed for it, as improper charging can damage the NiMH batteries for solar lights.
Troubleshooting Common Charging Issues
If your solar lights not charging despite the switch being on, consider these potential issues:
- Dirty Solar Panels: Dust or debris can reduce charging efficiency. Clean the panel gently with a damp cloth.
- Faulty Switch: A defective on/off switch may prevent charging or operation. Test by toggling the switch and checking for loose connections. If faulty, contact the manufacturer for a replacement.
- Battery Issues: Test the batteries with a multimeter to ensure they hold a charge. Replace if necessary with compatible NiMH batteries for solar lights.
- Insufficient Light: Ensure the panel receives enough light, whether natural or artificial. Reposition if needed.
- Defective Solar Panel: Inspect for cracks or discoloration. A damaged panel may require professional repair or replacement under warranty.

Maintenance Tips for Long-Term Performance
To keep your solar lights with on/off switch charging effectively, adopt these habits:
- Regular Cleaning: Wipe the solar panel monthly to remove dirt or pollen, ensuring maximum light absorption for solar pathway lights.
- Battery Care: Replace NiMH batteries for solar lights every 1-2 years to maintain capacity. Store spare batteries in a cool, dry place.
- Switch Management: Turn the switch off when storing solar-powered lights to prevent battery drain, especially during off-seasons.
- Weather Protection: For solar security lights exposed to harsh weather, check for water ingress and use weatherproof models (IP65 or higher).
Choosing the Right Solar Lights with On/Off Switch
When purchasing solar garden lights, opt for models with reliable on/off switches and additional features like USB charging or detachable panels. Brands like Bitpott, often highlighted in reviews by sources like Popular Mechanics, offer durable solar outdoor lights with user-friendly controls. Check customer feedback to ensure the switch is robust and the light performs well in various conditions. Look for weather-resistant materials and high-capacity NiMH batteries for solar lights to support consistent charging.
When to Seek Professional Help
If your solar lights not charging after trying all steps, the issue may involve internal wiring, a faulty solar panel, or a defective switch. For complex systems like solar security lights or integrated setups, consult a technician. Contact the manufacturer with proof of purchase and a detailed description of the issue to leverage warranty support, as most solar-powered outdoor lights come with a one-year warranty.
Conclusion
Charging solar lights with on/off switch is straightforward once you understand the switch’s role and optimize the charging process. By ensuring the switch is on, placing the light in direct sunlight, checking batteries, and using alternative methods like USB or artificial light, you can keep your solar garden lights glowing brightly. Regular maintenance and choosing high-quality solar-powered lights will enhance their longevity, making them a reliable, eco-friendly solution for your outdoor lighting needs.


Leave a Reply