
Solar garden lights are a popular, eco-friendly solution for illuminating outdoor spaces, offering aesthetic appeal and functionality without reliance on grid electricity. These fixtures, powered by solar panels and rechargeable batteries, are designed for year-round use in many climates. However, in regions with harsh winters—characterized by freezing temperatures, snow, ice, or high winds—storing solar garden lights during the off-season can extend their lifespan and maintain performance. This article provides a comprehensive guide on how to store solar garden lights for the winter, focusing on the products themselves: their components, materials, and vulnerabilities. By detailing preparation, disassembly, cleaning, storage, and re-installation processes, we aim to equip homeowners with practical steps to protect their investment and ensure their lights are ready for spring.
Understanding Solar Garden Lights
What Are Solar Garden Lights?
Solar garden lights are standalone outdoor fixtures that convert sunlight into electricity to power LED or other light sources. Key components include:
- Solar Panel: A photovoltaic panel (monocrystalline, polycrystalline, or amorphous) that captures sunlight to generate electricity.
- Rechargeable Battery: Typically NiMH (Nickel-Metal Hydride) or Li-ion (Lithium-ion), stores energy for nighttime illumination.
- LED Light Source: Provides energy-efficient lighting, available in warm-white (2700–3000K) or cool-white (5000–6500K).
- Photosensor: Automatically activates the light at dusk and deactivates it at dawn.
- Housing and Mount: Constructed from plastic, stainless steel, aluminum, or glass, with stakes, wall mounts, or hanging mechanisms for placement.
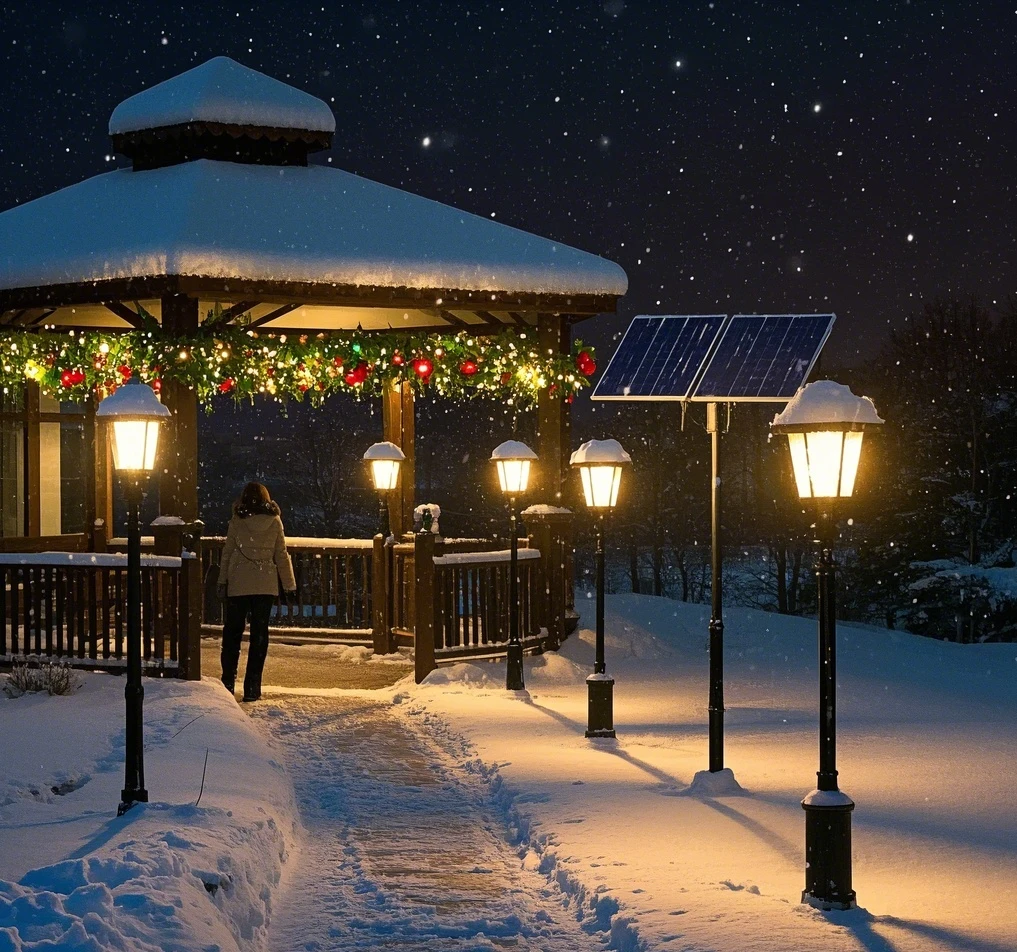
These lights come in various forms—stake lights, lanterns, string lights, and floodlights—and range in brightness from 10 to 200 lumens, catering to decorative or functional needs.
Why Store Solar Garden Lights in Winter?
While many solar garden lights are weather-resistant, winter conditions pose risks that can damage components or reduce longevity:
- Cold Temperatures: NiMH batteries lose efficiency below 32°F (0°C), and even Li-ion batteries may degrade below -4°F (-20°C). Plastic housings can become brittle and crack.
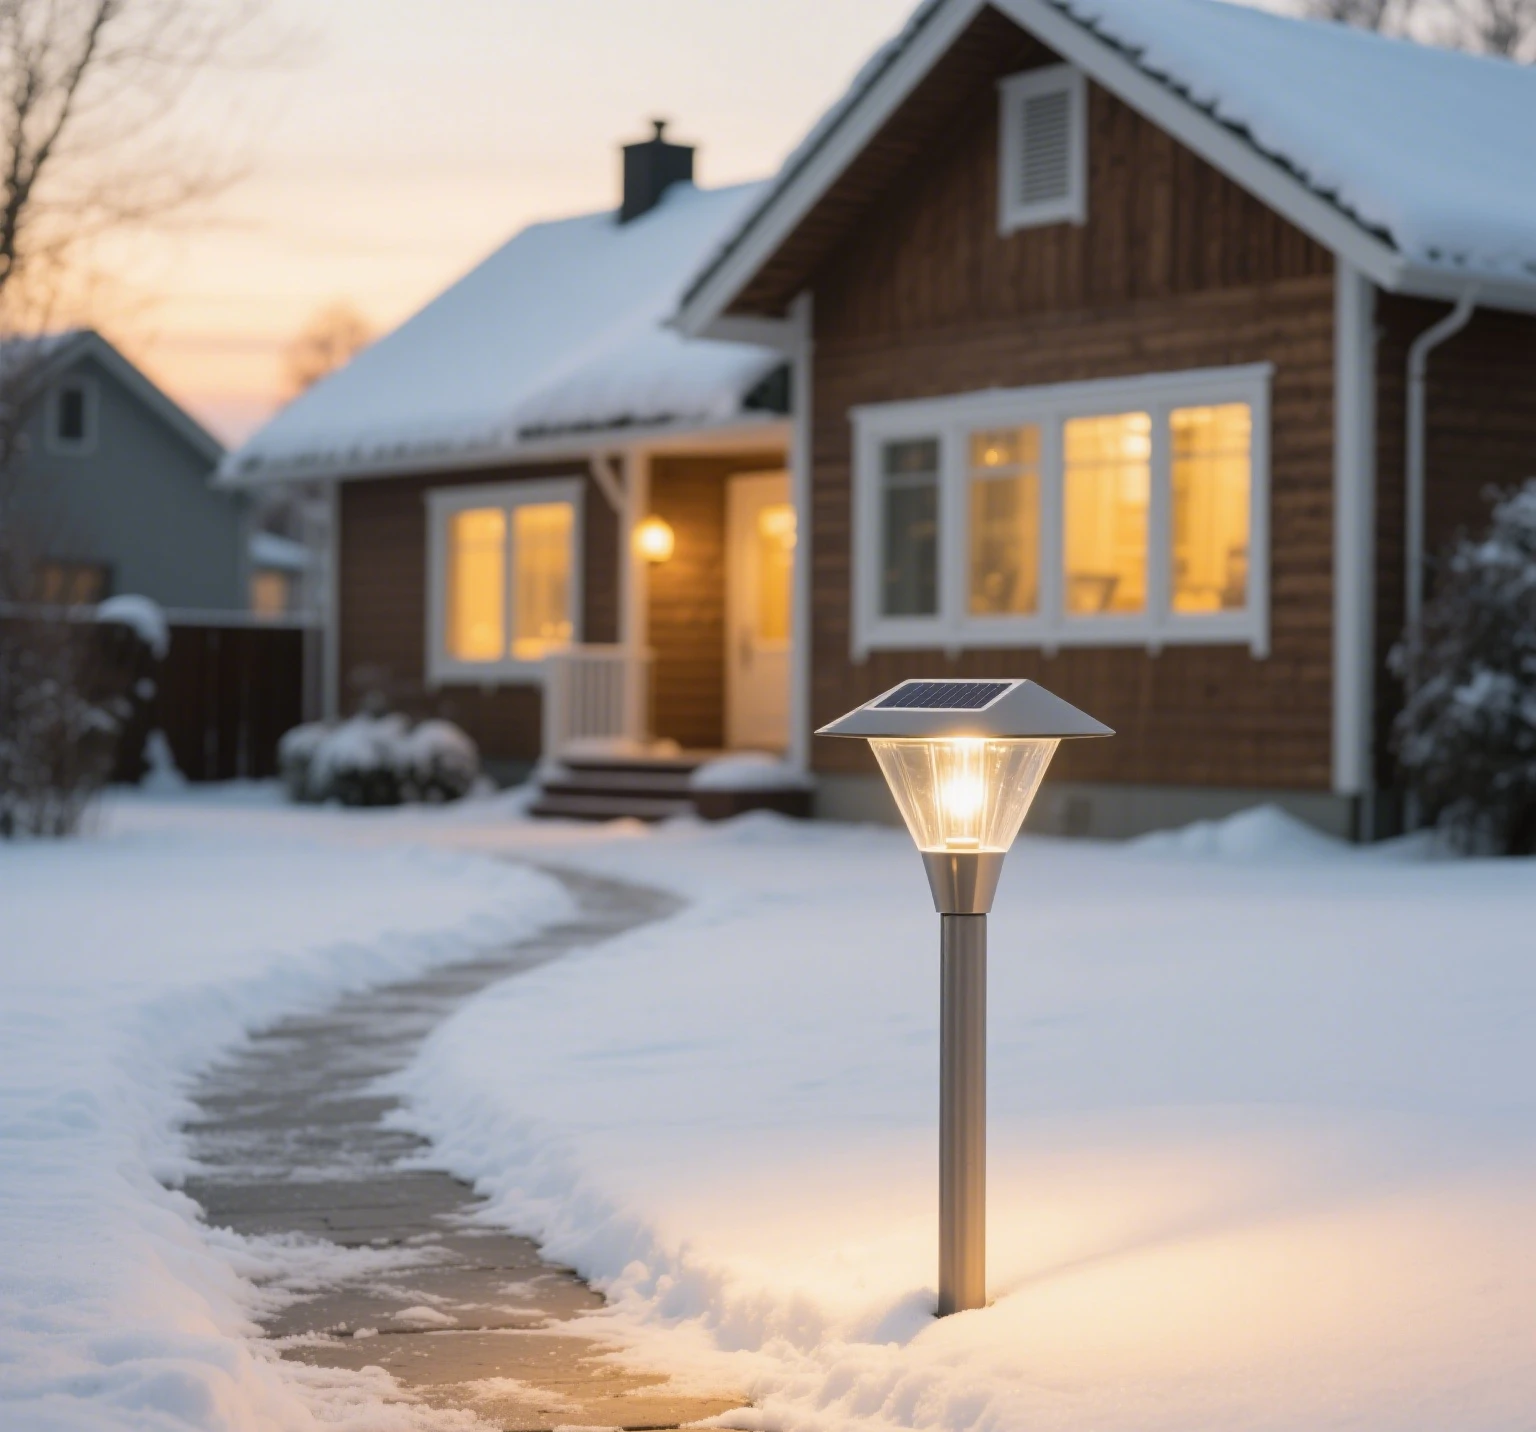
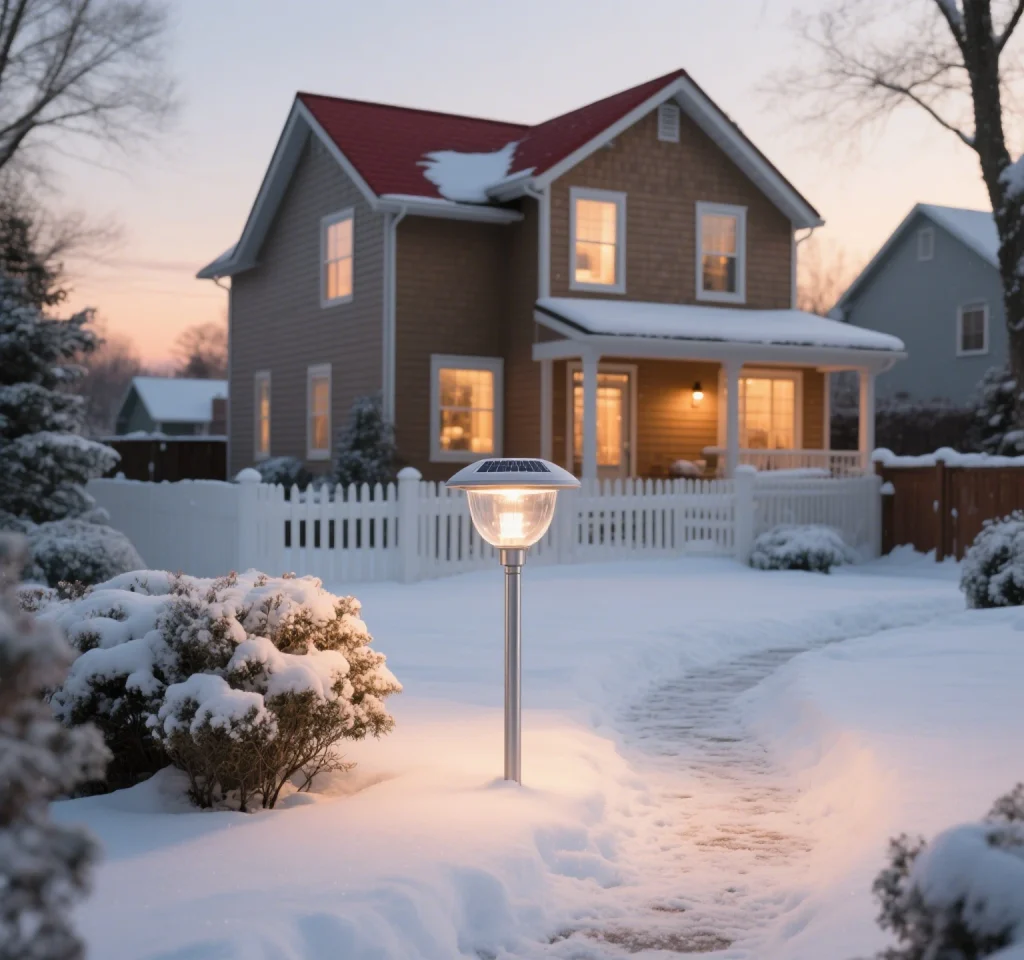
- Snow and Ice: Accumulation on solar panels blocks charging, while heavy snow or ice can bend or break stakes or fixtures.
- Moisture Infiltration: Freeze-thaw cycles can compromise seals, allowing water to damage electronics, especially in lights with low IP ratings (e.g., IP44).
- Wind and Storms: High winds can dislodge or topple lightweight or poorly anchored lights.
Storing lights indoors during winter protects them from these hazards, particularly for budget or mid-range models not designed for extreme conditions.
Product Features Relevant to Storage
- Material Durability: Stainless steel or aluminum resists corrosion, while plastic may degrade over time. Glass lenses are durable but prone to cracking if mishandled.
- IP Rating: Indicates water and dust resistance (e.g., IP65 for rain/snow, IP67 for submersion). Lower ratings (IP44) require more careful storage.
- Battery Type: NiMH batteries are prone to corrosion if left in damp conditions, while Li-ion batteries require stable temperatures to avoid degradation.
- Modular Design: Lights with removable batteries or detachable components are easier to store and maintain.
Step-by-Step Guide to Storing Solar Garden Lights
Proper storage involves preparation, disassembly, cleaning, and secure storage to protect components and ensure functionality when re-installed. Below is a detailed process tailored to solar garden lights.
Step 1: Assess Your Lights and Climate
Before storing, evaluate your lights and local winter conditions to determine if storage is necessary:
- Climate Considerations:
- Mild Winters (Above 20°F / -6°C): In regions like coastal California, lights with IP65 ratings and Li-ion batteries may stay outdoors with minimal maintenance.
- Moderate Winters (0°F to 20°F / -18°C to -6°C): In areas like the Midwest U.S., budget lights with NiMH batteries or low IP ratings are at risk and should be stored.
- Harsh Winters (Below 0°F / -18°C): In places like Alaska or Scandinavia, even premium lights benefit from storage to avoid damage from extreme cold or snow.
- Product Quality:
- Budget Models ($5–$15): Often use NiMH batteries, plastic housings, and IP44 ratings, making them vulnerable to winter damage.
- Mid-Range Models ($15–$30): Feature Li-ion batteries and IP65 ratings, but may still benefit from regular maintenance.
- Premium Models ($30+): With IP67 ratings, monocrystalline panels, and durable materials, these may withstand winter but last longer if stored.
If your lights are low-quality or your climate is harsh, storage is recommended. For high-quality lights in mild climates, consider leaving them out with regular maintenance (e.g., clearing snow).
Step 2: Turn Off and Remove Lights
To prepare for storage:
- Turn Off the Lights: Locate the on/off switch (if available) and deactivate the light to prevent battery drain. Some models lack switches, relying on photosensors; in these cases, proceed to removal.
- Remove from the Ground or Mount:
- For stake lights, gently pull the stake from the soil, twisting if necessary to avoid bending. If frozen, wait for a thaw or use warm water to loosen soil.
- For wall-mounted or hanging lights, unscrew or unclip from mounts, noting hardware locations for re-installation.
- For string lights, carefully untangle and remove from supports, coiling loosely to prevent damage.
- Label Components: If you have multiple lights with different designs or mounting hardware, label them (e.g., with tape or markers) to simplify re-installation.
Step 3: Disassemble and Inspect Components
Disassembling allows thorough cleaning and protects components during storage:
- Remove Batteries:
- Open the battery compartment (usually a screw or clip mechanism) and remove batteries to prevent corrosion or leakage. Note polarity (+/-) for re-installation.
- Inspect batteries for signs of damage (e.g., corrosion, swelling). Dispose of damaged batteries at a recycling center and replace with compatible ones.
- Detach Solar Panels (if Modular):
- Some lights have detachable panels. Unscrew or unclip them carefully, avoiding damage to wiring.
- Inspect for Damage:
- Check the solar panel for cracks or scratches, which reduce efficiency.
- Examine the housing for cracks, rust, or loose seals.
- Test the LED (if possible) to ensure it functions.
- Replace damaged parts before storage to avoid issues in spring.
Step 4: Clean All Components
Cleaning removes dirt, moisture, and debris that could cause corrosion or degradation during storage:
- Solar Panels:
- Wipe with a damp microfiber cloth and mild soap to remove dirt or grime. Avoid abrasive materials that could scratch the surface.
- Dry thoroughly with a clean cloth to prevent water spots or mold.
- Housing and Lenses:
- Clean plastic, metal, or glass components with a damp cloth and mild detergent. For stubborn stains, use a soft brush.
- Rinse with clean water and dry completely to avoid moisture retention.
- Battery Compartment:
- Use a dry cloth or cotton swab to clean contacts. For corrosion, gently scrub with a vinegar-soaked cloth, then dry thoroughly.
- Stakes and Mounts:
- Wash off soil or rust with water and a brush. Dry metal parts to prevent corrosion.
Step 5: Store Components Safely
Proper storage conditions protect lights from temperature extremes, humidity, and physical damage:
- Choose a Storage Location:
- Store indoors in a dry, cool place (ideally 50–77°F / 10–25°C), such as a garage, basement, or closet.
- Avoid damp areas (e.g., unheated sheds) or extreme heat (e.g., near heaters), which can degrade batteries or plastics.
- Pack Components:
- Batteries: Store separately in a plastic container or ziplock bag to prevent contact with metal objects. Include silica gel packets to absorb moisture.
- Lights and Panels: Wrap each light in bubble wrap or soft cloth to prevent scratches. Place in a sturdy plastic bin or cardboard box with padding (e.g., foam or newspaper).
- Stakes and Hardware: Store in a separate bag or container to avoid scratching other components. Label for easy re-assembly.
- Prevent Tangling:
- For string lights, coil loosely and secure with twist ties or Velcro straps to avoid kinks or wire damage.
- Label the Storage Container:
- Mark the bin or box (e.g., “Solar Garden Lights”) and include a list of contents or re-installation notes.
Step 6: Maintain Batteries During Storage
Batteries require special care to maintain performance:
- NiMH Batteries: Store at a partial charge (50–60%) in a cool, dry place. Check every 2–3 months and recharge if needed to prevent deep discharge.
- Li-ion Batteries: Store at 50–70% charge in a stable temperature. Avoid full discharge or overcharging, which shortens lifespan.
- Recycling: If batteries are old or damaged, recycle them at a local facility rather than storing them.
Step 7: Prepare for Re-Installation in Spring
Before re-installing lights after winter:
- Inspect Components: Check for damage or corrosion that may have occurred during storage.
- Test Functionality:
- Re-insert batteries and place lights in sunlight to charge for 8–12 hours.
- Test at dusk to ensure LEDs and photosensors work.
- Clean Again: Wipe down panels and lenses to remove dust accumulated during storage.
- Re-Install: Return lights to their original locations, using labeled notes to match components. Ensure stakes are secure and panels face sunlight.
Product-Specific Considerations
Different types of solar garden lights require tailored storage approaches:
- Stake Lights (e.g., GIGALUMI Solar Pathway Lights):
- Remove stakes from soil carefully to avoid bending. Store stakes separately to prevent scratching panels or lenses.
- String Lights (e.g., Brightech Ambience Pro):
- Coil loosely to avoid wire damage. Use a reel or wrap around a cardboard core for organization.
- Wall-Mounted Lights (e.g., LITOM Solar Wall Lights):
- Store mounting hardware in a labeled bag. Wrap lights to protect sensors or panels.
- Lanterns (e.g., TomCare Solar Lanterns):
- Remove hanging hooks and store flat to save space. Ensure glass components are well-padded.
Benefits of Proper Storage
Storing solar garden lights correctly offers several advantages:
- Extended Lifespan: Protects components from winter damage, reducing replacement costs.
- Maintained Performance: Preserves battery efficiency and light output for reliable spring use.
- Environmental Impact: Prolonging product life reduces waste, aligning with the eco-friendly ethos of solar lighting.
- Cost Savings: Avoids the expense of replacing damaged lights or batteries.
Alternatives to Storage
If storage isn’t feasible, consider these alternatives for winter use:
- Upgrade to Premium Lights: Invest in IP67-rated lights with Li-ion batteries and monocrystalline panels (e.g., URPOWER Solar Lights) designed for harsh winters.
- Protect In Place:
- Clear snow from panels regularly.
- Use weatherproof covers or move lights to sheltered areas.
- Reinforce stakes with weights or deeper anchors.
- Temporary Relocation: Move lights to a greenhouse or indoor garden for winter use, if compatible with your setup.
Case Studies and Real-World Insights
- Minnesota, USA (Harsh Winter): A homeowner stored budget NiMH-powered lights indoors after experiencing cracked housings and battery failures. Post-storage cleaning and battery replacement restored functionality, costing less than new lights.
- Ontario, Canada (Moderate Winter): A gardener stored string lights in a garage bin, coiling them loosely. In spring, all lights worked after a quick charge, avoiding snow-related wire damage.
- South UK (Mild Winter): A user left mid-range IP65 lights outdoors but stored budget models. The stored lights performed better the next season, while outdoor lights showed minor corrosion.
Conclusion
Storing solar garden lights for the winter is a practical strategy to protect them from cold, snow, moisture, and wind, particularly in moderate to harsh climates. By assessing your lights’ quality and local conditions, you can decide whether storage is necessary or if maintenance suffices. The storage process—turning off, disassembling, cleaning, packing, and maintaining batteries—ensures that components remain intact and functional for spring re-installation. Tailoring storage to different light types, such as stake or string lights, and choosing durable products with high IP ratings and Li-ion batteries can minimize future storage needs. With proper care, solar garden lights can continue to illuminate your outdoor spaces sustainably, offering beauty and functionality for years to come. By investing time in careful storage, homeowners can protect their eco-friendly investment and enjoy hassle-free lighting season after season.
Leave a Reply